
Please note: this does not mean I'm any good at it. (Just wanted to set that expectation ahead of time.)
When C was born, I went full throttle on a nautical theme for his room. As in, I actually shipped a bedding set, unwieldy crib bumper and all, to England because I found the perfect one at PBK. Matching curtain, valence, mobile -- the works.
Then N was born and we promptly stuck his crib in the office/guest room/now-also-a-nursery(!), where he received that all important infant stimulation from stacks of books, old tax returns and piles of fabric peaking out of the closet.
I'll pause to let everyone let out a heavy sigh and a, "POOR, N!"
Not to worry, in our new home he has his own room. And given that C is more vocal these days with his, ahem, (hockey) preferences, N is now the lucky recipient of his brothers old room decor. He's excited, he told me so ;)
However, I figured he deserved a few new items that he could call his own -- especially when I spied this:
 |
| via |

Home Depot had everything I needed:
Mirrors - the set of 5 was like $15.

Rope - I bought two different types to play around with. It comes on huge spools that you need someone to help you to cut...together it totaled around $6.

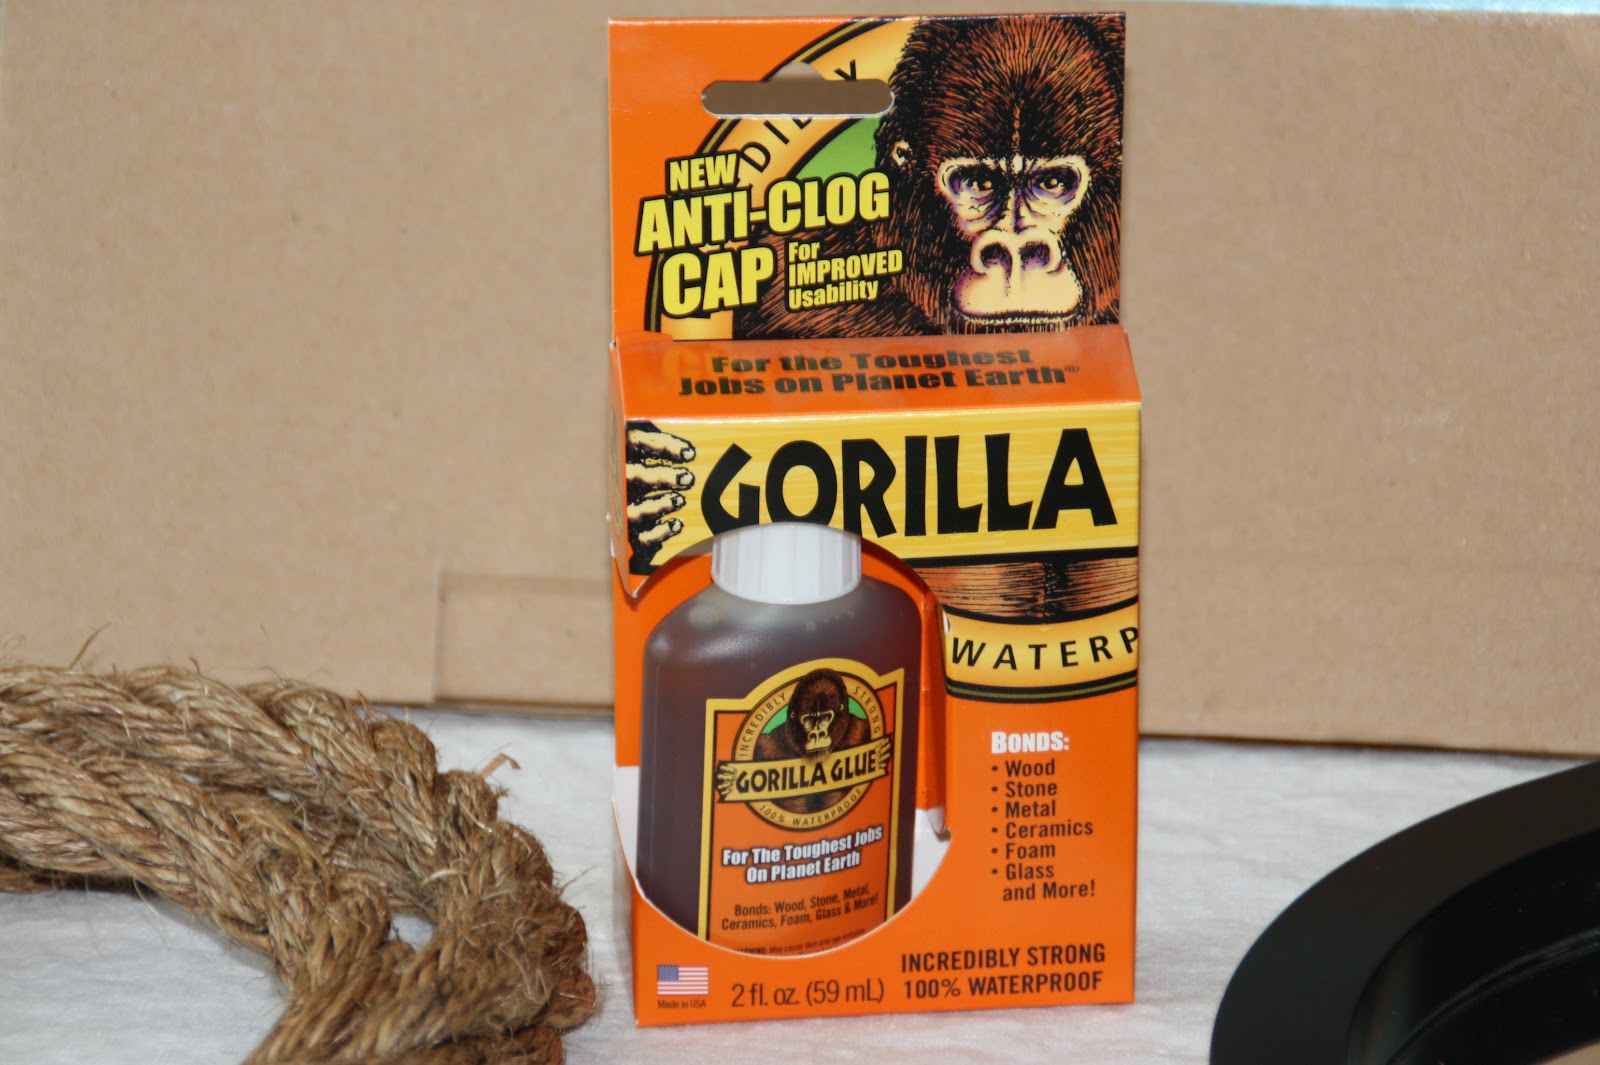
Adhesive - I bought a couple different types including Gorilla Glue and some clear caulk/sealant stuff (technical term, ha.) It turns out the latter worked a LOT better.
(I skipped adding the top piece that is shown in the "inspiration" picture because...I'm impatient. But I'm sure you could wander around your hardware store of choice and figure out how to add it.)
So, let the assembly portion of our program begin! Make sure you pay attention to these super complicated directions:
Spread a layer of adhesive to the surface you want to attach your rope.

Step back and say to yourself, "this crap will NEVER in a million years hold this rope in place," and move on to the caulk/sealant.

So...it says it's clear. But against a black surface, not so much. But I powered through, because like I said...I'm impatient. (If I were to do this over again, I may have just relied upon my trusty glue gun. Lesson learned.)
Now it's time to wrangle that rope and convince it to play nice.

Now find a super heavy book to rest on top while the adhesive drys/cures/hardens, etc.
 | ||
| Sid Dickens is totally stoked I'm using his tiles as weights for this project. |
In other news around the house (posts to come)...
1. I have finally ordered blinds and shutters for the majority of the windows in our house. I am still experiencing heart palpitations at how expensive this turned out to be. Yikes.
2. I have come close to a decision regarding a couch for the Den. I just need to check out one more place before pulling the trigger (has anyone been to Sofa Outlet in San Mateo?)
More (regular) blogging to come!
there is just nothing like your craft-talk.....cracks up up EVERYTIME! ("because....I'm inpatient." = CLASSIC!) xoxoxo
ReplyDelete